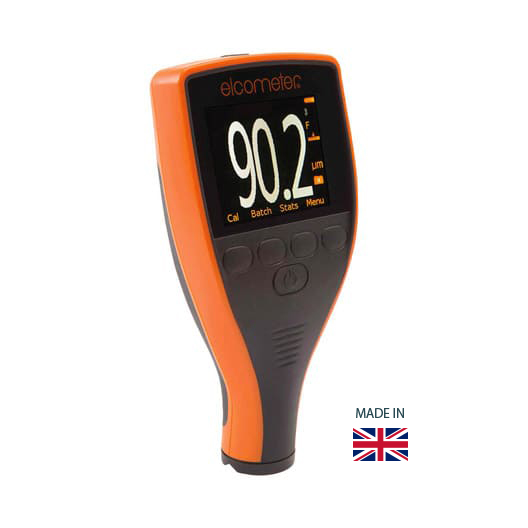
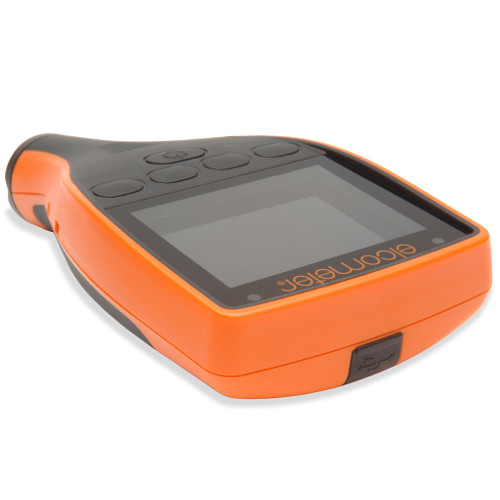
The new Elcometer 456 coating thickness gauge sets new standards in measuring the thickness of a coating
Ideal for assessment of protective coatings, also for aluminium and other non-magnetic metals. Its wide footprint facilitates single hand operation.
Each ELCOMETER 456 model offers further functionality to assure the success of your project. Our most advanced Model T features memory, alpha-numeric batching, and Bluetooth® communication.
Ferrous Metal Coating Thickness Gauge for Shot or Grit Blasted Surfaces Range : 0 – 1500μm (0 – 60mils) Add to cart
Ferrous Metal Coating | Scale 1 | Model B | Range: 0-60 mils Add to cart
Non-Ferrous | Scale 1 | Model B | Range: 0-60 mils Add to cart
Ferrous/Non-Ferrous | Scale 1 | Model B | Range 0-60 mils Add to cart
Ferrous Metal | Scale 1 | Model S | Range: 0-60 mils Add to cart
Ferrous Metal | Scale 1 | Model T | Range: 0-60 mils Add to cart
Ferrous | Scale 2 | Model B | Range: 0-200 mils Add to cart
Ferrous Metal | Scale 3 | Model B | Range: 0-500 mils Add to cart
Ferrous/Non-Ferrous | Scale 1 | Model S Range 0-60 mils Add to cart
Ferrous/Non-Ferrous | Scale 1 | Model T Range: 0-60 mils Add to cart
Great for harsh environments, the Elcometer 456 is a heavy duty, impact resistant instrument, with dust and water resistance equivalent to IP64. Storing up to 150,000 readings in 2,500 batches and to measuring up to 13mm (500mils) of coating, it is a perfect gauge for working on very large surfaces.
Pre-calibration included: You can start measuring on the stop, having selected the correct surface profile.
Easy to use: Minimal training required: (https://www.youtube.com/watch?v=OdlFDMHaXCw)
Results transferred via Bluetooth® or USB to ElcoMaster® or your software for instant report generation
Multiple languages: English, French, Spanish, German, Chinese & Japanese
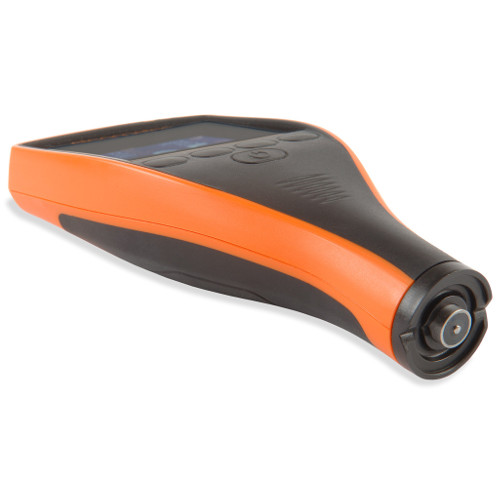
Built-in integral probe for reliable readings on flat or curved surface
Displays 3 individual readings and their average in microns or mils
Pre-calibrated with 4 profile ranges: Smooth 0-25µm 0-1mil Fine 25-60µm 1-2mils Medium 60-100µm 2-3mils Coarse >100µm 3-4mils
Elcometer 456 features |
Standard |
Optional |
|
| Model B | Model S | Model T | |
| Fast, accurate reading rate; 70+ readings per minute | ● | ● | ● |
| Repeatable & reproducible measurements | ● | ● | ● |
| Easy to use menu structure; in 30+ languages | ● | ● | ● |
| Tough, impact, waterproof & dust resistant; equivalent to IP64 | ● | ● | ● |
| Bright colour screen; with permanent backlight | ● | ● | ● |
| Scratch & solvent resistant display; 2.4” (6cm) TFT | ● | ● | ● |
| Large positive feedback buttons | ● | ● | ● |
| USB power supply; via PC | ● | ● | ● |
| Test certificate | ● | ● | ● |
| 2 year gauge warranty1 | ● | ● | ● |
| Automatic rotating display; 0°, 90°, 180° & 270° | ● | ● | ● |
| Ambient light sensor; with adjustable auto brightness | ● | ● | ● |
| Emergency Light | ● | ● | ● |
| Tap awake from sleep | ● | ● | ● |
| Gauge software updates2; via ElcoMaster® software | ● | ● | ● |
| Data Output | ● | ● | ● |
| USB; to computer | ● | ● | ● |
| Bluetooth®; to computer, Android™ & iOS3 devices | ● | ● | ● |
| On Screen Statistics | ● | ● | ● |
| Number of readings; η Mean (average); x, Standard deviation; σ Highest reading; Hi, Lowest reading; Lo, Coefficient of variation; CV%, Elcometer index value4; EIV | ● | ● | |
| Nominal dry film thickness; NDFT | ● | ● | |
| IMO PSPC; %>NDFT, %>90 <NDFT, 90:10 pass/fail | ● | ● | |
| High & low limits; definable audible & visual alarms | ● | ● | |
| Number of readings above high limit; | ● | ● | |
| Number of readings below low limit; | ● | ● | |
| Live reading trend graph; in Batch Mode | ● | ● | |
| ElcoMaster® software & USB cable | ● | ● | ● |
| Replaceable screen protectors | ● | ● | ● |
| Protective case | ● | ● | ● |
| Plastic transit case | ● | ● | ● |
| Separate models; with automatic probe recognition | ● | ● | ● |
| Probe type; Ferrous (F), Non-Ferrous (N), Dual (FNF) |
F, N, FNF
|
F, N, FNF
|
F, N, FNF
|
| Measurement Range |
0-31mm (0-1,220mils)
|
0-31mm (0-1,220mils)
|
0-31mm (0-1,220mils)
|
| On screen calibration instructions; in 30+ languages | ● | ● | ● |
| Multiple calibration methods | ● | ● | ● |
| Factory; resets to the factory calibration | ● | ● | ● |
| 2-point; for smooth and rough surfaces | ● | ● | ● |
| 1-point; zero calibration | ● | ● | ● |
| Zero offset; for calibration according to ISO19840 | ● | ● | ● |
| Predefined calibration & measurement methods | ● | ● | |
| ISO, SSPC PA2, Swedish, Australian | ● | ● | |
| Automatic calibration; for rapid calibration | ● | ● | |
| Calibration memory type; gauge (g) or gauge & batch (gb) |
g
|
gb
|
gb
|
| Number of batches; with unique calibrations |
1
|
2,500
|
|
| Calibration memories: 3 programmable memories | |||
| Measurement outside calibration warning | |||
| Calibration lock; with optional PIN Code Unlock | |||
| Delete last reading | |||
| Gauge memory; number of readings |
Last 5
|
1,500
|
150,000
|
| Individual batch calibrations; sent to PC via ElcoMaster® software | ● | ● | |
| Limits; user definable audible & visual pass/fail warnings | ● | ● | |
| Gauge (g) or gauge & batch specific (gb) limits |
g
|
gb
|
|
| Date & time stamp | ● | ● | |
| Review, clear & delete batches | ● | ● | |
| Batch types; normal, counted average, IMO PSPC | ● | ● | |
| Navsea Mode | ● | ||
| Batch review graph | ● | ||
| Copy batches and calibration settings | ● | ||
| Alpha-numeric batch names; user definable on the gauge | ● | ||
| Scan & Auto Repeat Modes; with Scan Probe connected | ● | ||
| Fixed Batch Size Mode; with batch linking | ● | ||
SAVE BIG – SLASH YOUR COSTS BY GETTING A COMPREHENSIVE KIT FOR YOUR PROJECT
FERROUS / NON-FERROUS METAL INSPECTION KIT | LARGER PROJECTS INSPECTION KIT 5 | ALL-INCLUSIVE STRUCTURES ASSESSMENT KIT 6 | SEE ALL ELCOMETER KITS AVAILABLE FOR SALE
Elcometer 456 calibration
As the gauge is factory calibrated, the calibration cannot be adjusted by the user and the gauge should be returned to Elcometer for re-calibration. The user can, however, verify the accuracy of the gauge calibration in the field using the ‘Test Calibration’ option. To test the calibration, press Cal/Test Calibration and follow the on-screen instructions. Just select the relevant surface profile and start measuring.
STANDARDS: ASTM D7091, ISO 2808, ISO 19840, SSPC PA-2, US Navy NSI 009-32.
Supplied with Test Certificate.
How to use Elcometer 456:
1. Whilst holding the gauge perpendicular, gently place the probe onto the surface.
· Do not drag the probe across the surface or bang the probe down hard onto the surface as this will damage the probe tip resulting in inaccurate readings.
· >1500µm’ (’>60mils’) indicates a reading over the probe range.
2. For subsequent readings, lift the probe off and then replace it on the coated surface.
· Do not allow the probe to hover over the surface as this could result in a false reading.
The first reading taken is displayed next to ‘1′, the second next to ‘2′ etc. When the third reading has been taken, the average (mean, xbar) of the three individual readings displayed is shown (X:).
The average (mean, xbar) reading is cleared when a fourth reading is taken.
By selecting ‘Send Individual Readings’ or ‘Send Mean (xbar) Reading’ via Menu/Bluetooth, the user can choose to transfer the individual readings or just the average (mean, xbar) reading values to ® ® ElcoMaster or ElcoMaster Mobile Apps – see Section 7 on page 7.
Download Data Sheet
Download Elcometer 456 Manual
You may also be interested in:
Elcometer 456 Digital Coating Thickness Gauge with detachable probe variety

 0 items
