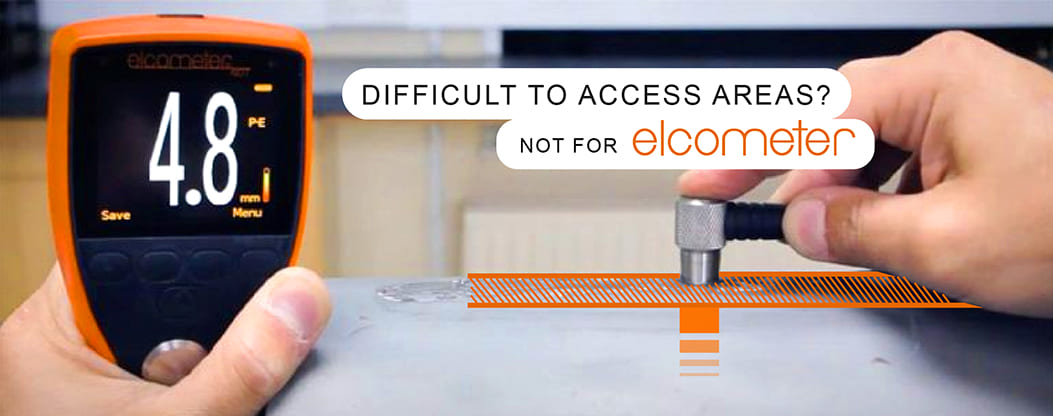
Any pipeline, pressure vessel, or a storage tank requires regular non-destructive testing using an ultrasonic thickness gauge, to inspect for corrosion.
One way of doing this inspection, is to use a grid.
Using a grid allows you to organize large area inspections, mark and identify areas of concern, and easily create corrosion reports. By redoing grid-based inspections of a location over time you can predict corrosion rates, and better plan preventative maintenance.
Elcometer MTG8 and PTG8 Material Thickness Gauges is perfect for this task. MTG8 is designed for measuring both coated and uncoated materials; and the Elcometer PTG8 – for thin uncoated materials. Importantly, both come with Grid Batching, that saves your readings instantly into a grid for the ease of your reporting.
So, what are the key steps? To get started, draw your grid on the area to be inspected. The size and location of your grid, depends on the job specification. Usually the grid columns are specified as letters, and rows as numbers, like a spreadsheet. Then set up the Elcometer MTG8 or PTG8, press the Batch softkey, select New Batch, and the New Batch creation screen opens. Rename your batch if need be, select the batch Measurement Mode and Calibration method, and set Limits so your gauge alarms when readings are outside of specs. They key setting for this task is Batch Type. Specify the readings order from left to right, or top to bottom; then write the number of rows and columns your grid has. Once complete, go back to the New Batch creation screen, and select Open Batch. The gauge now displays the grid reference of the square you should take a reading in first. Simply take a reading in each square as instructed by the gauge, with the grid reference updating after each saved measurement, and the reading stability indicator ensuring you only save accurate and reliable measurements.
Sometimes, obstructions occur such as weld seams, valves, or coating irregularities. In this case, simply press the Obstruction button, which is available when the gauge is not receiving a signal from the transducer. This allows you to put an Obstruction label in the grid cell. You can then move on as normal. Once the grid is completed, the gauge lets you know, and closes the batch.
Now the report and analysis stage begins. If you connect your gauge, via USB or Bluetooth, to ElcoMaster® software, the entire grid batch with full statistics, calibration information, and limits, may be transferred over to a computer. You can add any additional notes and photographs, and then instantly create a professional inspection report before even leaving the site. Alternatively, you can import a picture of your inspection area into ElcoMaster® using Collects feature, add the locations you need to take measurements in, and then simply upload the template live to your device or PC, observe the corrosion, proceed with the measurements, and include these visuals in the report. To learn how to create a collection template in ElcoMaster®, please follow this link.

 0 items

